7 Steps to Implement Stats4U into the Google Tag Manager
About the content and its review
Update, August 2026: the Tag Manager interface in the screenshots below no longer exists, and step 5 — picking document.write — is no longer needed. There is a current version of this guide. The original steps are kept below, reworded but unchanged in substance.
For every site that already has a Google Tag Manager Container embedded!
This article shows how to embed a stats counter from Stats4U into a Google Tag Manager Container. First of all let me describe the different stats counter that we have on our site.
- 1. The invisible Counter
- Stats4U offers an invisible counter. On the main page of Stats4U.net it can be picked right away. The choice is between a stats icon that opens the statistics on a click and no icon at all:
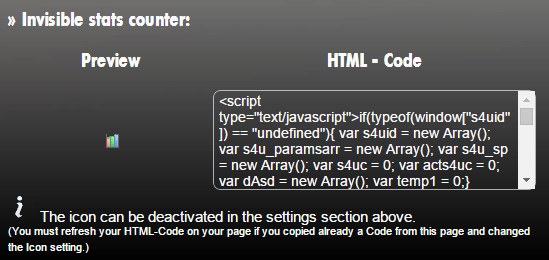
2. Stats Counter with Visitor count
A real "counter" that increases with each visit is the other option.
A counter with an image produces visible output on the page, wherever the Google Tag Manager Container has been implemented:
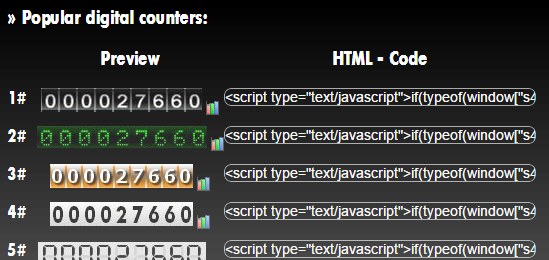
We recommend the first option with the Google Tag Manager, because the GTM can sit in various places and the position of the Stats image cannot be controlled.
Pass the code to the Tag Manager
Once the counter style is picked, the code goes straight into the Google Tag Manager.
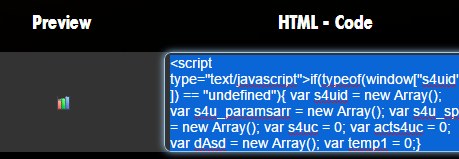
1. Copy the desired code:
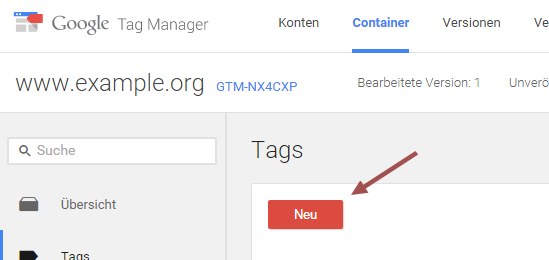
2. Create a new Tag in the Container
3. Choose "Custom HTML Code":

4. Paste the copied Stats4U Code into the Tag
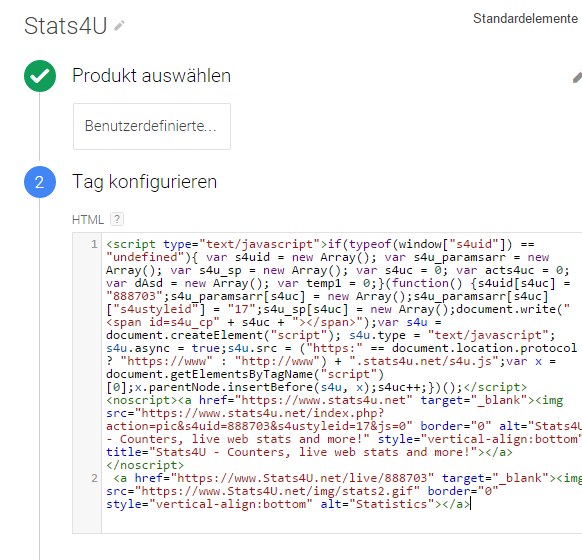
5. Pick document write

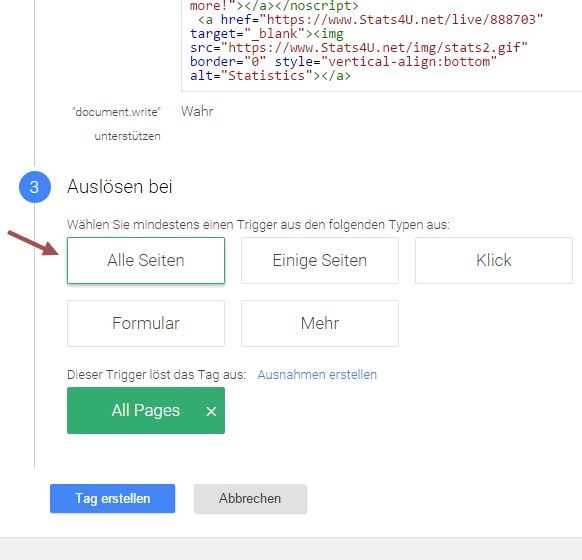
6. Select firing rule "All pages"
7. Save & Publish!
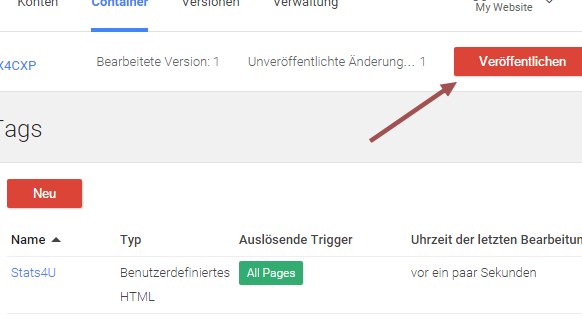
Ready and set up! The counter is now tracking the visitors on the site.
Check back on our blog for more insights and features in the future!
Advertisement